Mastering CSS: Unleashing Style and Elegance
Table of Contents
Recommended basics: Articles you should know
To get the full picture of this article, you should know about this topics:
You may also want to use the content map to find interesting articles that play into this one.
Websites are a composition of many moving parts. Every of which has it’s own responsibilities and if you follow this principal, you’ll have a maintainable website. It started with HTML and today you will learn more about how you can use CSS to define the styling of your website.
This is a very basic introduction into CSS to get you rolling.
Define CSS: Cascading Style Sheets #
CSS stands for Cascading Style Sheets: It is a technique to identify elements in your HTML and apply
some style to it. This way you can separate structure from styling.
Overall it’s a set of styling rules, while every rule is build up in two parts:
- The element identifier
- The styles to apply to this element, while each style is a
key value pair
A Guide to Writing CSS #
CSS is easy to read / write, but it’s quiet challenging to know and keep track of all the styles you can apply to some element. For most use cases you will go with common styles, so you will make progress fast.
As mentioned above, CSS rules have a selector / identifier to target the element you want to apply the style to and
for sure the set of styles you want to be applied. Let’s have a first example:
| |
This code applies one style to one element: You decided that the body should have bold text. Our selector in
this case is body and the style property font-weight is set to bold.
Cascading Styles #
As the naming already indicates, CSS is a cascade of styles, this is meaning three things. Let’s review this using your
about me page (see HTML tutorial) where you used a h1, an img and a a element.
Crafting Precise Selectors #
In CSS you can reuse the nesting of element to write precise selectors. You didn’t do it on your about me page so I’ll
go with a slightly odd example to still match my HTML tutorial, but let’s say you want the a to be bold
as long as it’s withing the body element:
| |
As you can see, each selector can have multiple steps separated by a space:
- search for
bodyelement(s) - in there, search for
aelement(s)
Mastering Multiple Rules #
In one CSS file you can define multiple rules. If you want the h1 to be italic and the a to be bold, you can
do it like this:
| |
Unleashing Multiple Selectors #
One CSS rules can have multiple selectors. If you want the h1 and the a to be italic, you can
define it like this:
| |
As you can see, each selector is separated with a comma.
Harmonizing Multiple Style Properties #
One CSS rules can have multiple style properties. If you want the a to be bold and italic, you can
define it like this:
| |
Prioritization Strategies #
While this is easy examples, in your daily work you will see tricky situations. Most challenges will be multiple
selectors for the same element which have different values for the same style property. In this situation
there’s two situation to decide which rule wins.
Precision wins #
| |
In this case font-style: normal; will win, since the selector is more precise.
Last Rule Standing #
| |
In this case font-style: italic; will win, since the precision of both selectors is identical and it was the last
one overwriting the style property.
Unleashing the !important Declaration #
If you use it, you must be scared. But reality shows: You’ll use it (and I do too): The !important declaration.
You can overrule the default prioritisation manually by appending !important to some value. Please keep in mind,
that within all !important styling, still the prioritisation takes place. You cannot make it more important.
Overruling with Precision #
| |
In this case font-style: italic !important; will win, it’s !important.
Overruling the Last Rule #
| |
In this case font-style: normal !important; will win, it’s !important.
Incorporating CSS in Your Project #
You can include CSS in two ways. Personally I tend to work with CSS files, but every now and then I’ll use inline CSS as well.
Harnessing Inline CSS #
You can define your CSS directly within your HTML code. I do this when it would be way to complicated to have a separate CSS file (e.g. in some plugin code or similar) as long as it is not too much CSS.
To inline CSS rules within HTML, you wrap your CSS code in an style element:
| |
Oldie’s hint: the
type="text/cssattribute you used to add tostyleelements is obsolete nowadays.
Managing Styles with External CSS Files #
A CSS file is a text file, like HTML, having one or multiple CSS rules inside.
Let’s say you have your index.html file in some empty folder, you can put your CSS file next to it, let’s name it
style.css:
| |
Now from your HTML, you can include / reference / link this file so the browser loads and processes it with one line,
usually put in the head element:
| |
As you can see the path / filename is defined in the href attribute, I used a relative path here, may you will use
absolute URLs here.
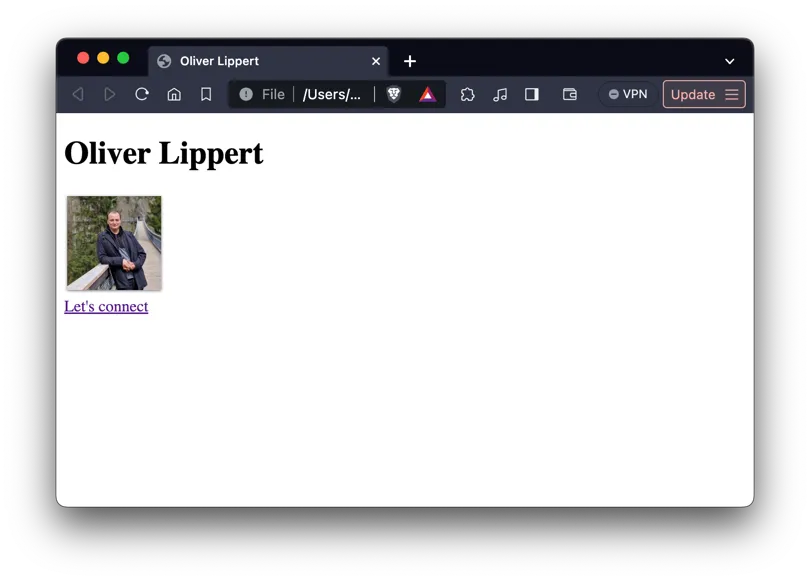
Enhancing the About Me Page #
Let’s improve the about me page from my HTML introduction. I really just guided to the basic structure, so there’s no style at all, the perfect place to start.
In this tutorial I’ll just change the CSS and stick to the HTML structure that exists already. This is limiting on the one hand but on the other hand demonstrates CSS even better.
Just for a reference, here’s our starting point:
First of all, I will add a CSS file so my folder looks like this:
| |
And now I can link the file from my HTML document:
| |
Now I’m are ready to go. Styling is very subjective and I’m very bad on it, but this is just a demo so please take it as a learning and do it better.
Choosing a Stylish Font #
I don’t like the default font, so I’ll go with Arial.
While
Arialis available on most systems, it’s not on all, so I’ll also addsystem-uias a fallback.
| |
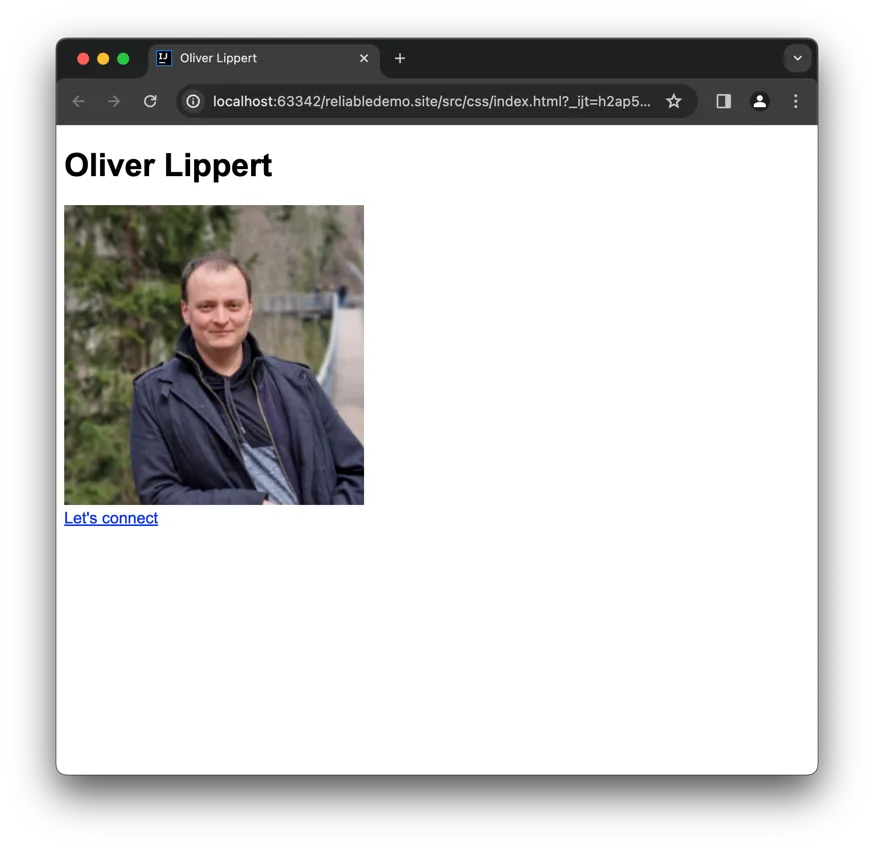
The * selector matches every element, so with this single rule I give the font to all existing elements. Since it’s
a very generic rule, it can be overridden easily.
Horizontally Centering Content #
Since it’s not much content, I’ll center align the content:
| |
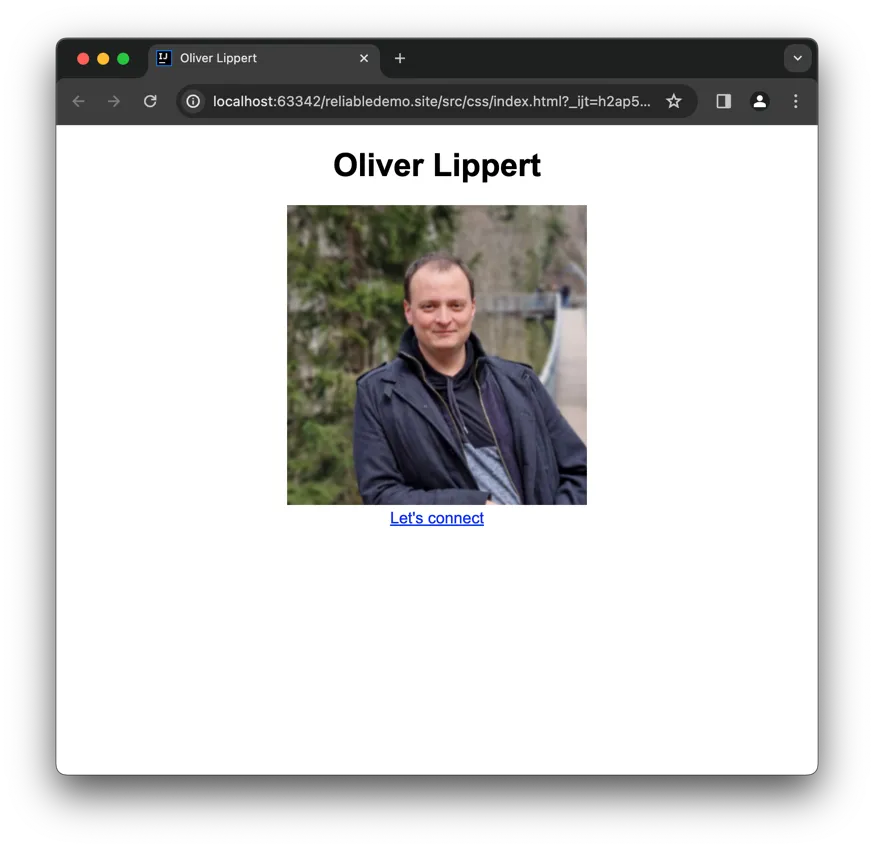
You can see that text-align: center; centered the content horizontally.
Adding Top Spacing for Elegance #
I would like to center the content also vertically but this would need changing structure a little, so I skip this. Instead, I’ll just add some space on top of the content:
| |
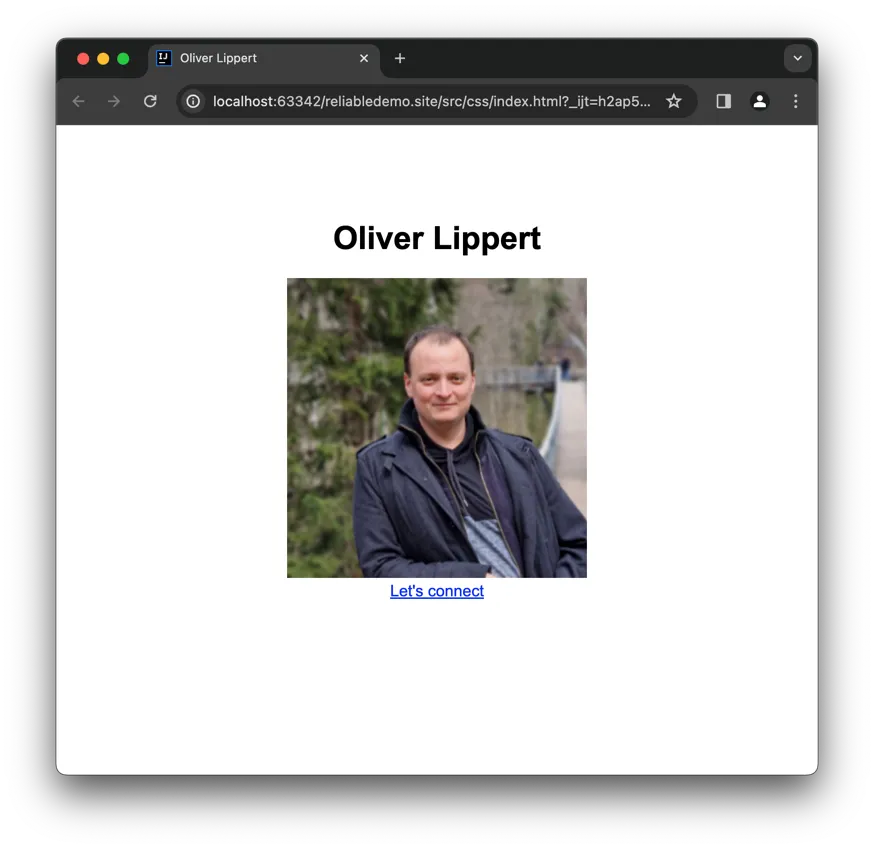
You can see that I applied padding-top: 10vh; to the body. padding as a spacing inside of an element, I used
it with the body to tell the browser that all content should start with some offset. The value 10vh stands for
10% of the current view height, so vh means view height.
Achieving Balanced Spacing between Image and Link #
I do not like that between headline and image is more space than between image and link. So let’s fix this:
| |

While padding is describing and spacing inside of an element, margin describes the spacing outside of an
element. I use margin-bottom to describe the outside bottom spacing of an img and set it to 15px which stands
for 15 pixels as you probably guessed already.
Delve into CSS: Going Beyond the Basics #
Thanks for reading this introduction into CSS. If you want to dive deeper, there’s a ton of material out there. Here’s a 100 second video about CSS which gives more insight:
Another very good ressource, where you can exercise as well is the w3school css section.
Here’s some quick links of what you’ve touched today:
Keep pushing forward: Next articles to improve your skills
With this article in mind, you can keep on reading about these topics:
You may also want to use the content map to find your next article.