Efficient Dependency Management with NPM
Table of Contents
Recommended basics: Articles you should know
To get the full picture of this article, you should know about this topics:
You may also want to use the content map to find interesting articles that play into this one.
In your project you will come across the situation where you decide to reuse some code that is existing already.
You do not need to implement everything yourself, this is totally fine. Using others code in your project makes you
depending on their work, so it’s called dependency management. Back in 2006 - 2010 when I developed my first
projects, I just downloaded these dependencies manually and added them to my source code.
But without proper documentation of your dependencies you will lose the overview to a point that your project becomes unmanageable. The good news is: Theres a solution for keeping track of all your dependencies.
Understanding NPM for Dependency Management #
NPM stands for Node Package Manager. It is a way to document and manage your projects dependencies.
I’ll not talk about
nodein this post, I’ll just go withnpmfor showcasing dependency management.
Such package managers work basically the same: You have a central file listing up your dependencies and the version
you are using at the moment. They have some cli to install or update this dependencies for you. The source code
of this dependencies get downloaded to a subfolder so your IDE can deal with it.
It’s worth mentioning, that In npm you can differentiate between dependencies, which you just need during development
and those, which you need to actually run your project.
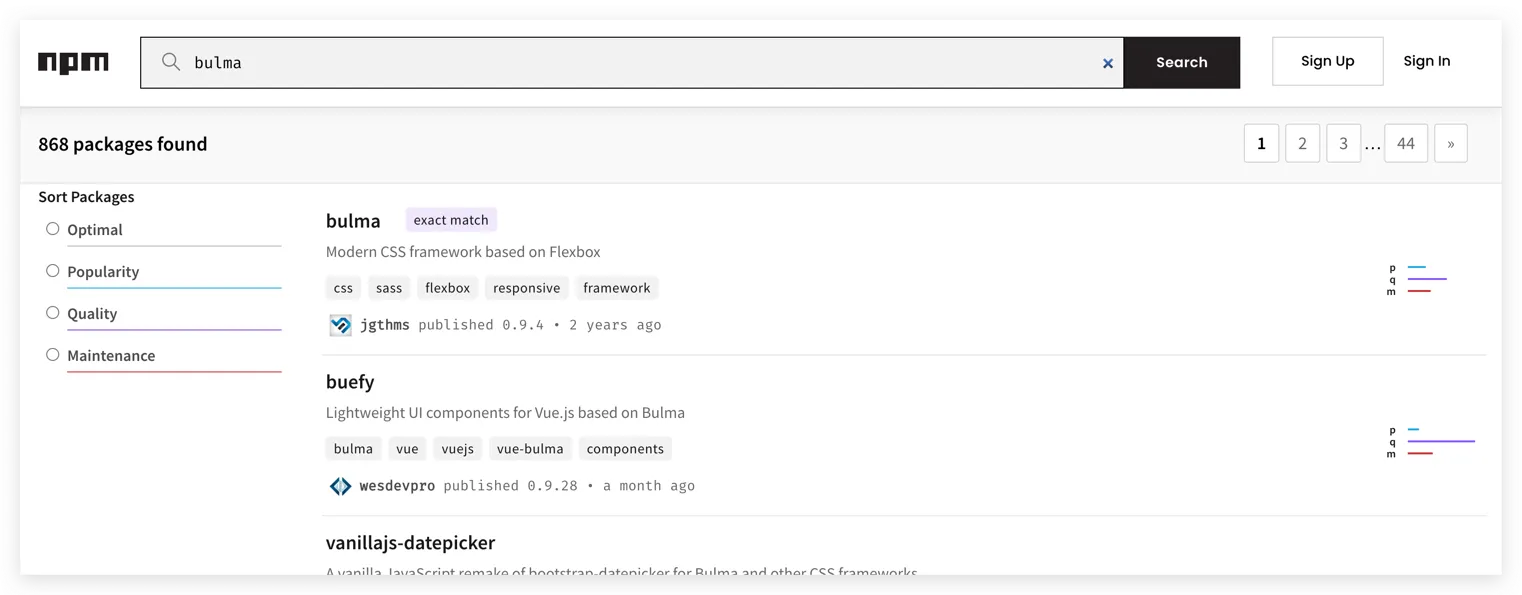
Every package manger has a registry of all public packages. You can find the registry of npm at
npmjs.com. Simply type in the search box whatever you need and review the matches:

Minimal Configuration for Dependency Documentation in NPM #
Documenting dependencies with npm is very easy. Whenever you install a dependency it will automatically added to your
package.json and package-lock.json. Just save this two files and you have everything documented.
For demonstration purpose I’ll showcase the package.json file written manually. First we need a JSON file with
an empty object. So in your project folder create the package.json file:
| |
As the content, write an empty JSON object:
| |
This empty object can have multiple properties, read the
npm documentation for package.json for better
understanding. For demonstration purpose, I’ll just focus on one property dependencies. This is an object where
you can add all of your dependencies as properties and define the used version as their value. Let’s initialize
this property:
| |
Now the package manager would know, that this project has no dependencies.
Efficiently Integrating Bulma CSS Framework with NPM #
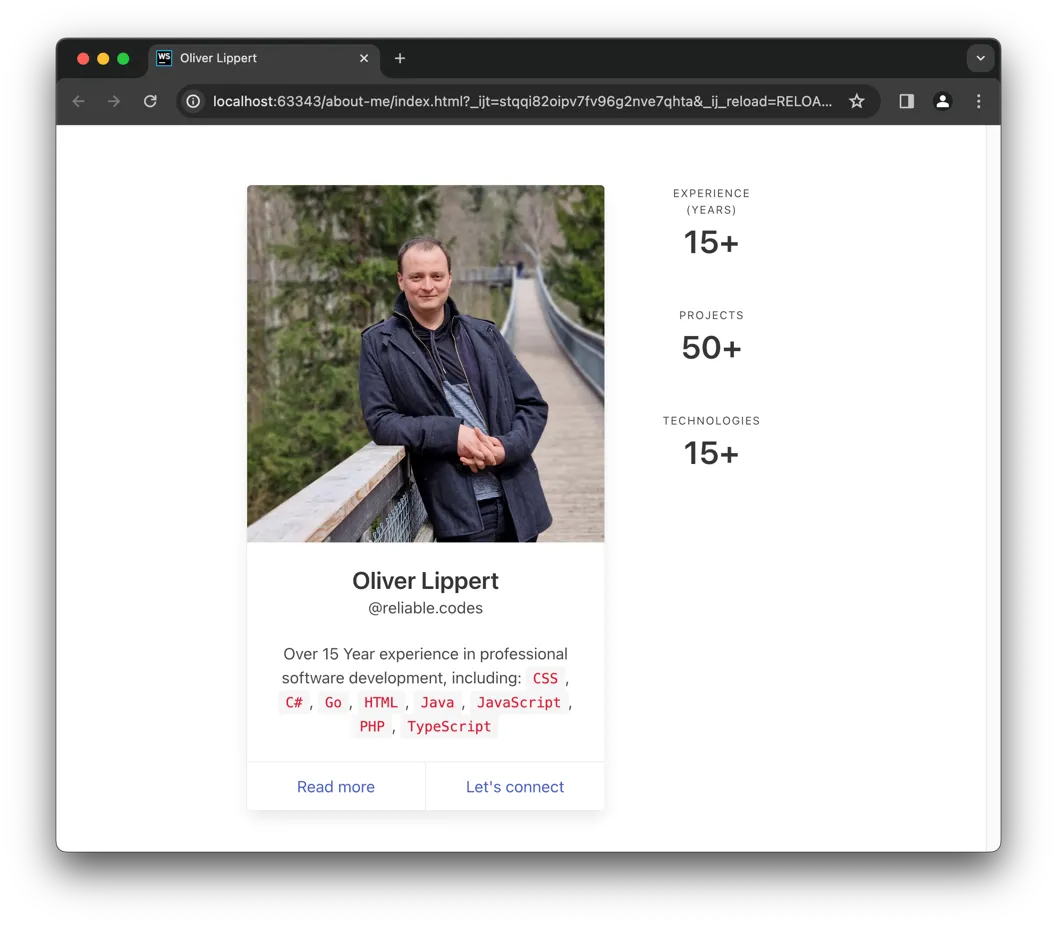
Probably you read already about the most basic About Me page in HTML, which we styled using CSS and gladly finanlly found Bulma:

I dont like, that we just downloaded Bulma and added it to our source code. So now let’s
improve this by using npm as our package manager.
Open the project again and remove the bulma folder (which holds the source code of the Bulma CSS Framework). Now
install Bulma again using the following shell command:
| |
Now your project files should look like this:
| |
The package.json should look like this:
| |
And here we have it: Your project now “officially” is depending on bulma compatible with version 0.9.4. Read
more about the ^ and npm dependency version annotation
in the documentation.
I personally prefer to use the precise version in
package.json, so I’d remove the^
If you now open the page, you’ll see it’s broken. This is because the CSS File for Bulma has moved into the
node_modules folder. Just update your reference to this:
| |
And it should look fine again.
Navigating Risks Associated with Project Dependencies #
It seems like you can speed up your development by using dependencies. In many cases, that’s true. But keep in mind that there’s some challenges as well. In the context of this introduction, at least these I want to mention on a high level, so you are aware of it and can get deeper into it if needed.
The Importance of Updating Dependencies #
Nice that you now clearly documented your dependencies. But please remember to every now and then check if there are updates and do update, if there are. “Never change a running system” is a very bad approach here, since dependencies come with more code than you need in your project and “more code” usually means “more bugs” or “more security issues”. Not updating makes your applications vulnerable. That’s why updates are very important, yet often ignored.
Consistently monitor your dependencies for updates using tools like npm outdated to see the latest features and security patches:
| |
To update dependencies, simply define the new version in package.json and run npm install, which will see that
you changed the version information and download it for you.
The easiest way to always be up to date seems to be using a * for the version, which basically means
“I need the newest version”. Everytime you run npm install now, it’ll pick the newest version automatically.
When updating dependencies, test your project thoroughly to verify compatibility and functionality, minimizing the risk of unexpected issues.
The Cascade: Transitive Dependencies #
Dependencies are not as simple as they look like. Dependencies are not a “direct one way link” or so. Dependencies are
a tree. What I mean by this is: If your project depends on A, everybody who depends on your project, depends on A
as well.
Your dependency A may be depending on other dependencies as well, let’s call them B and C. And you now what?
B and C, since they are dependencies, can rely on other dependencies, who can rely on other dependencies, who
can…. You see what I mean?
Dependency Hell: Understanding the Challenges #
As your project grows, you’ll add more and more dependencies. The challenge here is, in the moment you add a dependency it’s “just one change”. But in the long term, all this puzzle pieces need always to fit together to keep your project working.
After years of maintenance you can see a point called “dependency hell” where it’s close to impossible to change
anything. That starts usually with the conflict of updating dependency A which will break dependency B but if you
update dependency B it will break C and if you update C it will break A. Do you see the “loop”? At this point
you will spend a lot of time coming up with a update plan.
Keep in mind “ignore updates” will likely lead to this situation. The only way to takle this, in my opinion, is to frequently update your dependencies.
Open Source Licenses in Software Development #
“Open source” not necessarily means “free to use”. Just because you can read it, doesn’t mean you can use it. And
“just copy what I need” also doesn’t work always. That’s because source code is intellectual property (IP) and
can be protected using licenses.
I will not go deep into it right now, I just want to mention that if you start a public project, maybe think about a software-as-a-service approach, you definitely want to go deeper into this topic.
Licenses can disallow you, based on your project type, to use their code. Licenses can force you to publish your code and make it freely available, if you decide to use them.
Final Thoughts on Dependency Management #
Dependency management is a central topic in software projects. On the other hand, it’s a “thing you need to do”, not a “thing you like to do”. It introduces a whole new area of complexity to your project, as it grows.
Always take time to consider if you really need a dependency. Prioritize necessary dependencies and carefully evaluate each one before integration to prevent unnecessary bloating and potential conflicts.
If you do it right, dependencies are a big supporter for your project. We would not see many modern applications without people sharing their code with others. Thanks to every package author for his effort.
Keep pushing forward: Next articles to improve your skills
With this article in mind, you can keep on reading about these topics:
You may also want to use the content map to find your next article.