HTML - the hidden power of the WEB
Table of Contents
Whatever you do related to websites, there’s one thing that you will do: You will write HTML code to be parsed by some browser and shown to the user. HTML is your way of structure information so that a computer programm can work with it.
This is a very basic introduction into HTML to get you rolling.
HTML’s Essence: Unraveling the Importance of Structure #
HTML is no programming language. It has no logic. It is here to structure information.
Did you ever think about text when writing? I mean there’s a difference between ? and !,
even if it doesn’t change the words, right? Sometimes floating text is good but when you
write your shopping list, you probably write a list.
Whenever some user opens up some page on the internet, he does want to see something. With
HTML we can extend the plain text with some markup to help our users better understand
our website.
HTML stands for Hypertext Markup Language by the way.
Decoding HTML: Understanding the Framework of Web Content #
HTML in theory is a XML document. So you have elements that can have attributes and
can have other elements inside. Except the very first line, where you usually tell the
browser what specific dialect (if you like) you use.
elements do start with <some-element> (“some-element” is replaced by the name of whatever
element you want to place) and do end with </some-element>. Whatever is in between is the
content / child of that element. Some elements cannot have content / children, line breaks
for example, then you can write <br /> (I know that the / is optional nowadays).
Line 1 in many cases will look like this: <!doctype html>.
After that you start your html element which will have a head and a body.
Demystifying HTML’s head Section: Unveiling its Significance #
In this section you put some meta data. So whatever you put here, will not be shown to the user but it will have a significant impact on how it will be shown.
In HTML head section you can define a title of your website for example, so it can be shown
on the browser tab
Insight into HTML’s body Section: Building the Foundation for Web Content #
Whatever you want to display, you put here. It will be the basic layout structure of your website and for sure the content you want to show to the user.
Usually the body section of an html document gets pretty large, so it’s a good idea to work with indentation whenever you nest elements.
HTML: The Unmissable “Hello World” Example #
That said, let’s have a look on the famous “Hello World” example that can’t be skipped for any tutorial:
| |
Here’s what we see:
- A html document (see line 1)
- The language is english (see
langattribute ofhtmlelement) - The title is “My first document” (see
titleelement inheadsection) - The text “Hello World” will be shown
Crafting Your Debut: A Guide to Creating Your “About Me” HTML Page #
Let’s extend our hello world example a little bit. Let’s build a very basic about me page.
To do so, we’ll use three elements:
h1: This is our headlineimg: This is our imagea: This is our link, I’ll use LinkedIn here
1. About me: The raw structure in HTML #
We start with a “empty” structure. To do so, create an empty file and call it
index.html.
| |
Open it in some text editor and put in this code:
| |
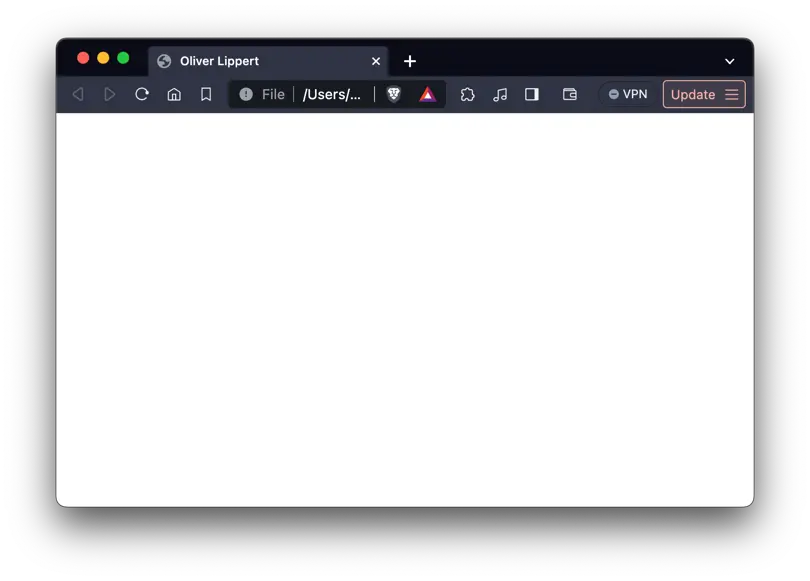
Now you can open this file with any browser you have installed. As you can see, we have an empty page with our name on the tab:
2. Personal Touch: Introducing Your Name in HTML #
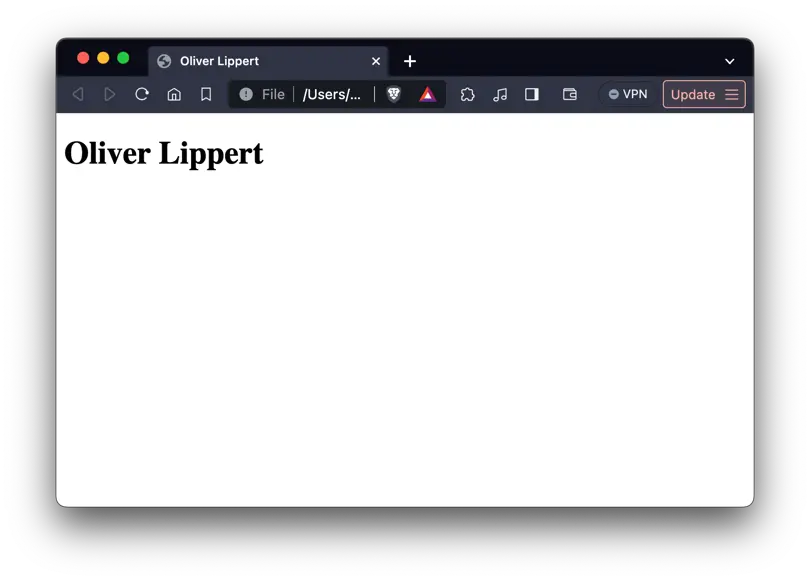
OK now let’s add our name:
| |
We place the headline 1 in our body. Nice to know: In HTML you have h1 to h6 so you can
structure multiple levels of headlines together.
3. Visual Appeal: Integrating Images in Your HTML Content #
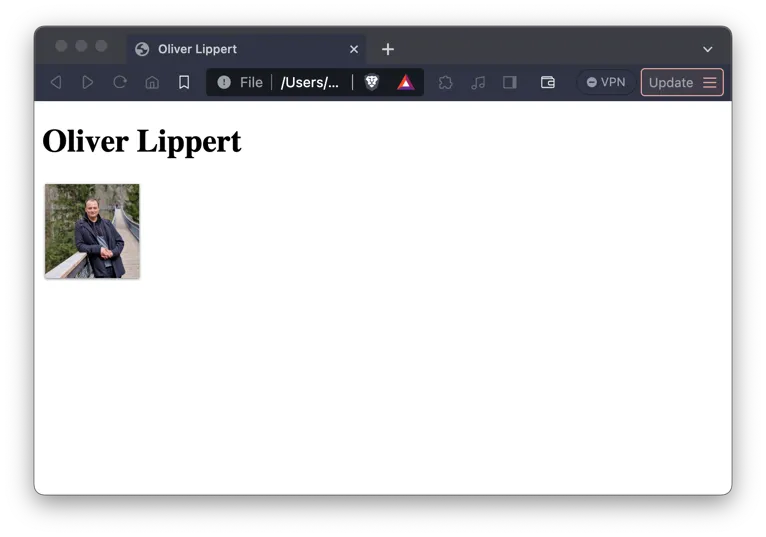
We can add images to html with an img element. It can hold a reference to some
image with the attribute src. Also it’s a common practice to add an alt attribute
and provide some text for screen readers:
| |
Probably you cannot see the image right now. To see it, you need to place
it next to the index.html
| |
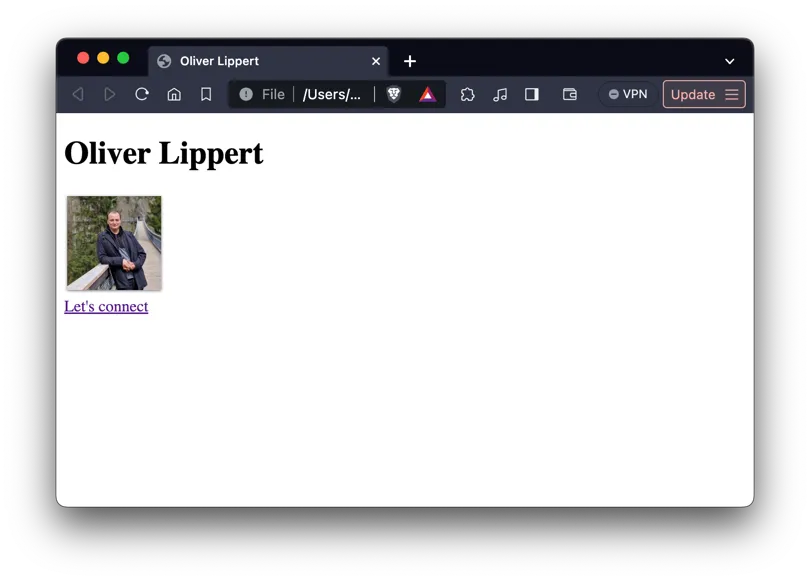
4. Connect with Your Audience: Incorporating Links in HTML #
Let’s keep the audience connected. In my case, I’ll use my LinkedIn. I do so by introducing an
a element. It can link some website by using the href attribute. The text that should be
“the link” you can simply put as the elements content:
| |
So now we have a link. Did you note that we needed to put the br element after our img to get
a linke break but we didn’t need that after the h1? We’ll dive deeper on that in some later blog
post.
Delve into HTML: Going Beyond the Basics #
Thanks for reading first introduction to HTML. Keep rolling. If you want to dive deeper, there’s a ton of material out there. Here’s a 100 second video about HTML which gives more insight:
Let’s look good: #
This is a very basic plain HTML website. You should add some styling to it, this way it will become your own website.
HTML for everyone: Publish your website #
Opening your website on your computer is nice, but sharing it with other is key.
Keep pushing forward: Next articles to improve your skills
With this article in mind, you can keep on reading about these topics:
You may also want to use the content map to find your next article.