Node.js - JavaScript in Server Applications
Table of Contents
Recommended basics: Articles you should know
To get the full picture of this article, you should know about this topics:
You may also want to use the content map to find interesting articles that play into this one.
Applications, no matter if public websites, web-services, internal backends or local applications can be complex and in most cases run dynamically, based on provided information.
We’ve discussed JavaScript already, in the context of interactive websites. The discussed use-case was to show a real-time-clock on a website. As you probably recognized, this code will just run, if a users visits this website and as long as he has it open. Once closed, this code will is not executed any longer.
Today we’ll discuss how we can use Node.js to run the code whenever and however long we like on our computer natively, without using a browser.
JavaScript in Websites vs. Node.js: Key Differences for Server Applications #
Node.js is JavaScript executed as a application. Compared to the browser, you as a developer have more technical possibilities. On the other hand there’s no browser where you can render HTML to interact with your users.
When deciding which to pick, I would review the use-cases. Is it something to implement in my website, I’ll go for JavaScript in the website. But if something standalone, I’ll probably go for Node.js.
The compare is way more complex, but on a high level, this should be enough for the moment.
How to Set Up Node.js #
Check out the official how to install Node.js guide.
Real-World Node.js Use Cases: From CLI Apps to Web Servers #
Since we’ve discussed JavaScript already, let’s directly walk through some use-cases to actually see what Node.js can do for you.
Hello World in Node.js: Your first CLI application #
No tutorial can work without “Hello world”, right? So here’s the infamous example for “Hello world” in Node.js.
In Node.js we can use console.log to write messages to system prompt / shell:
| |
Hint: The first line (shebang) is optional.
Save this (e.g. as main.js) and run it in a system prompt / shell (e.g. node main.js) and you’ll see the output.
Building a simple calculator in Node.js: A CLI example #
OK that was not too bad, wasn’t it? Now let’s start doing something more application alike. Let’s write our
own calculator, that we can use on command line, something like node main.js 1 + 2 or node main.js 456 / 123. This
is important so you understand how to work with command line arguments.
Hint: This is just for demo purpose. I’ll skip handling edge cases.
To achieve this, we first need to understand how we can get the defined arguments from within Node.js. This we’ll get
as an array via process.argv. We need to keep in mind, that arrays in JavaScript are
“0 based”, so in the example above, we would have this array items:
0. "node"
1. "main.js"
2. "1"
3. "+"
4. "2"
Getting the first number can be done with process.argv[2]. Since this would be a string, we can use parseInt()
to convert it to an integer.
That is already the hardest part. After we’ve read both numbers and the operation, we can code our supported operations and print out the result.
Three things to keep in mind:
- What if not all arguments is given?
- What if a unsupported operation is given?
- What if one or both numbers are no numbers?
The length of the provided arguments can be checked with process.argv.length. For the operation, we can run through
select / case statement to ensure, just implemented operations can be used. And for “no-number inputs”
JavaScript has isNaN (isNaN stands for “is not a number”) that can help us.
So let’s put it all together:
| |
Hint: I wrote this pretty straight-forward to focus on Node.js, not on coding patterns.
Building a html web server with Node.js #
We’ve discussed how to use Node.js to write basic command line interface applications, but what about serving a website using Node.js? At a first step, let’s simply hand out static HTML so we can use our browser to “see” our Node.js application.
We’ve discussed already, how to order a domain and use some public hoster’s infrastructure to host a simple website. If now we want to serve our own website using Node.js, we need to create this on our own. For sure in a very stripped and simple way.
We’ll not host our Node.js application publicly, but on our local device. We can still access it from our browser
using the “domain” localhost (which will resolve to your local device) and to prevent access issues on unix systems,
we’ll go with port 8080 (for sure you can change it to your likings).
I’ll explain the idea behind the code first. You can find the full code below. Feel free to review it at any time.
Node.js comes with a built-in http-server. We can load it using require('http'). For the sake of ease we’ll send
our HTML on whatever request that comes in, just for the showcase. Working with requests can be done with
createServer() where we’ll have request as first and response as second argument. This function will be
called for every incoming request.
For the response we’ll indicate that everything is OK by setting statusCode to 200 and we’ll indicate that our
response is HTML by setting the header Content-Type to text/html. Next, we can send our HTML by using
end() on the response object, giving the HTML code as first argument.
Finally, after implementing our “routing logic”, we need to listen to incoming requests, so we can respond with our
HTML. We can use listen() on the object we received from createServer() and we can specify three
arguments:
- The
portto listen on (we’ll uselocalhost) - The
hostnameto listen on (we’ll use8080) - What
codeto run after startup (we’ll just log the full URL)
So let’s put it all together:
| |
Hint: I wrote this pretty straight-forward to focus on Node.js, not on coding patterns.
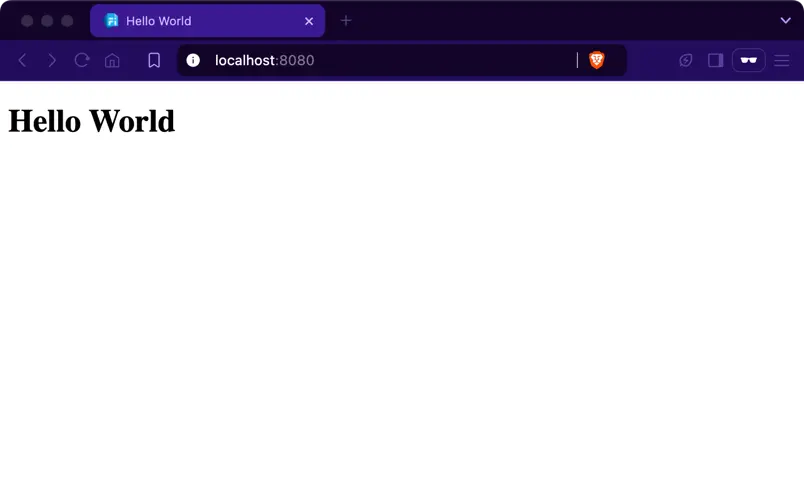
Save this (e.g. as server.js) and run it in a system prompt / shell (e.g. node server.js) and you’ll see the output:
| |
You’ll recognise, the program will not stop, it’ll stay running until you stop it (CTRL + C / ^ + C). As long as
this program is running, you can use your browser to access the shown URL.

You can also use Node.js on your server to make this website publicly available.
Building a web based calculator with Node.js #
In software development it’s about putting together learnings in a way that suits your project goal. We’ve done a
calculator on CLI and we’ve done a simple HTML website, why not combine both to have an interactive
calculator in HTML? This chapter is important so you understand how to work with query parameters and how to
work with placeholders to generate dynamic responses.
Hint: This is just for demo purpose. I’ll skip handling edge cases.
HTML template #
In our previous Node.js hello world HTML website, we’ve seen how to respond a static HTML document for
every request. If we now want to calculate something and show the result, we can’t always show the same, it must be
dynamic, based on what should be calculated.
For this demonstration, I’ll work with a placeholder. So the HTML is static, but for every request we’ll
replace one part with the result. This way, every request gets his proper HTML document as a response.
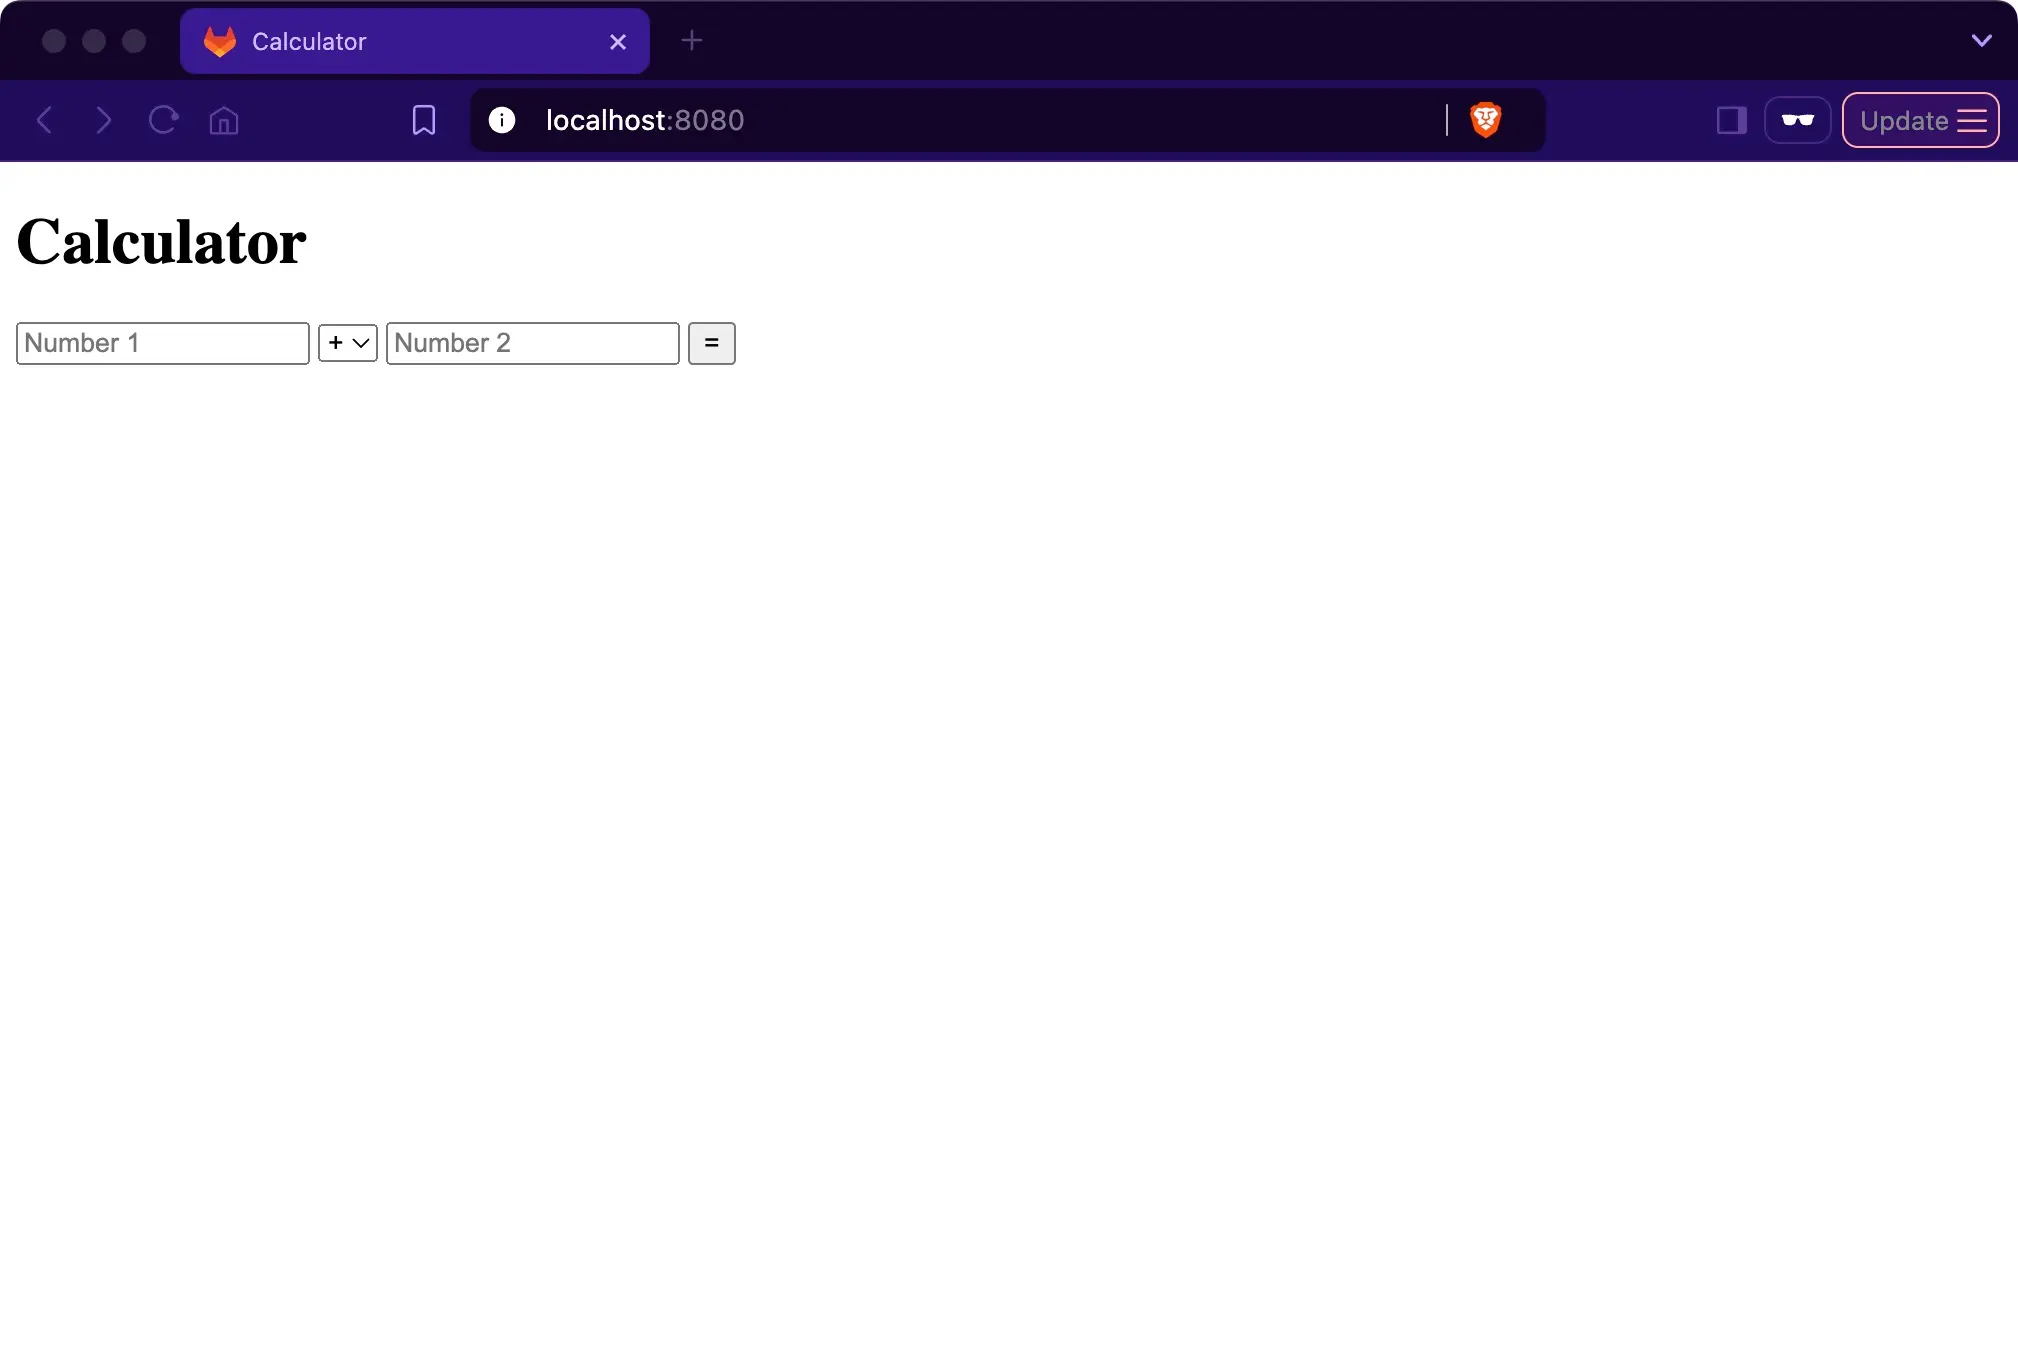
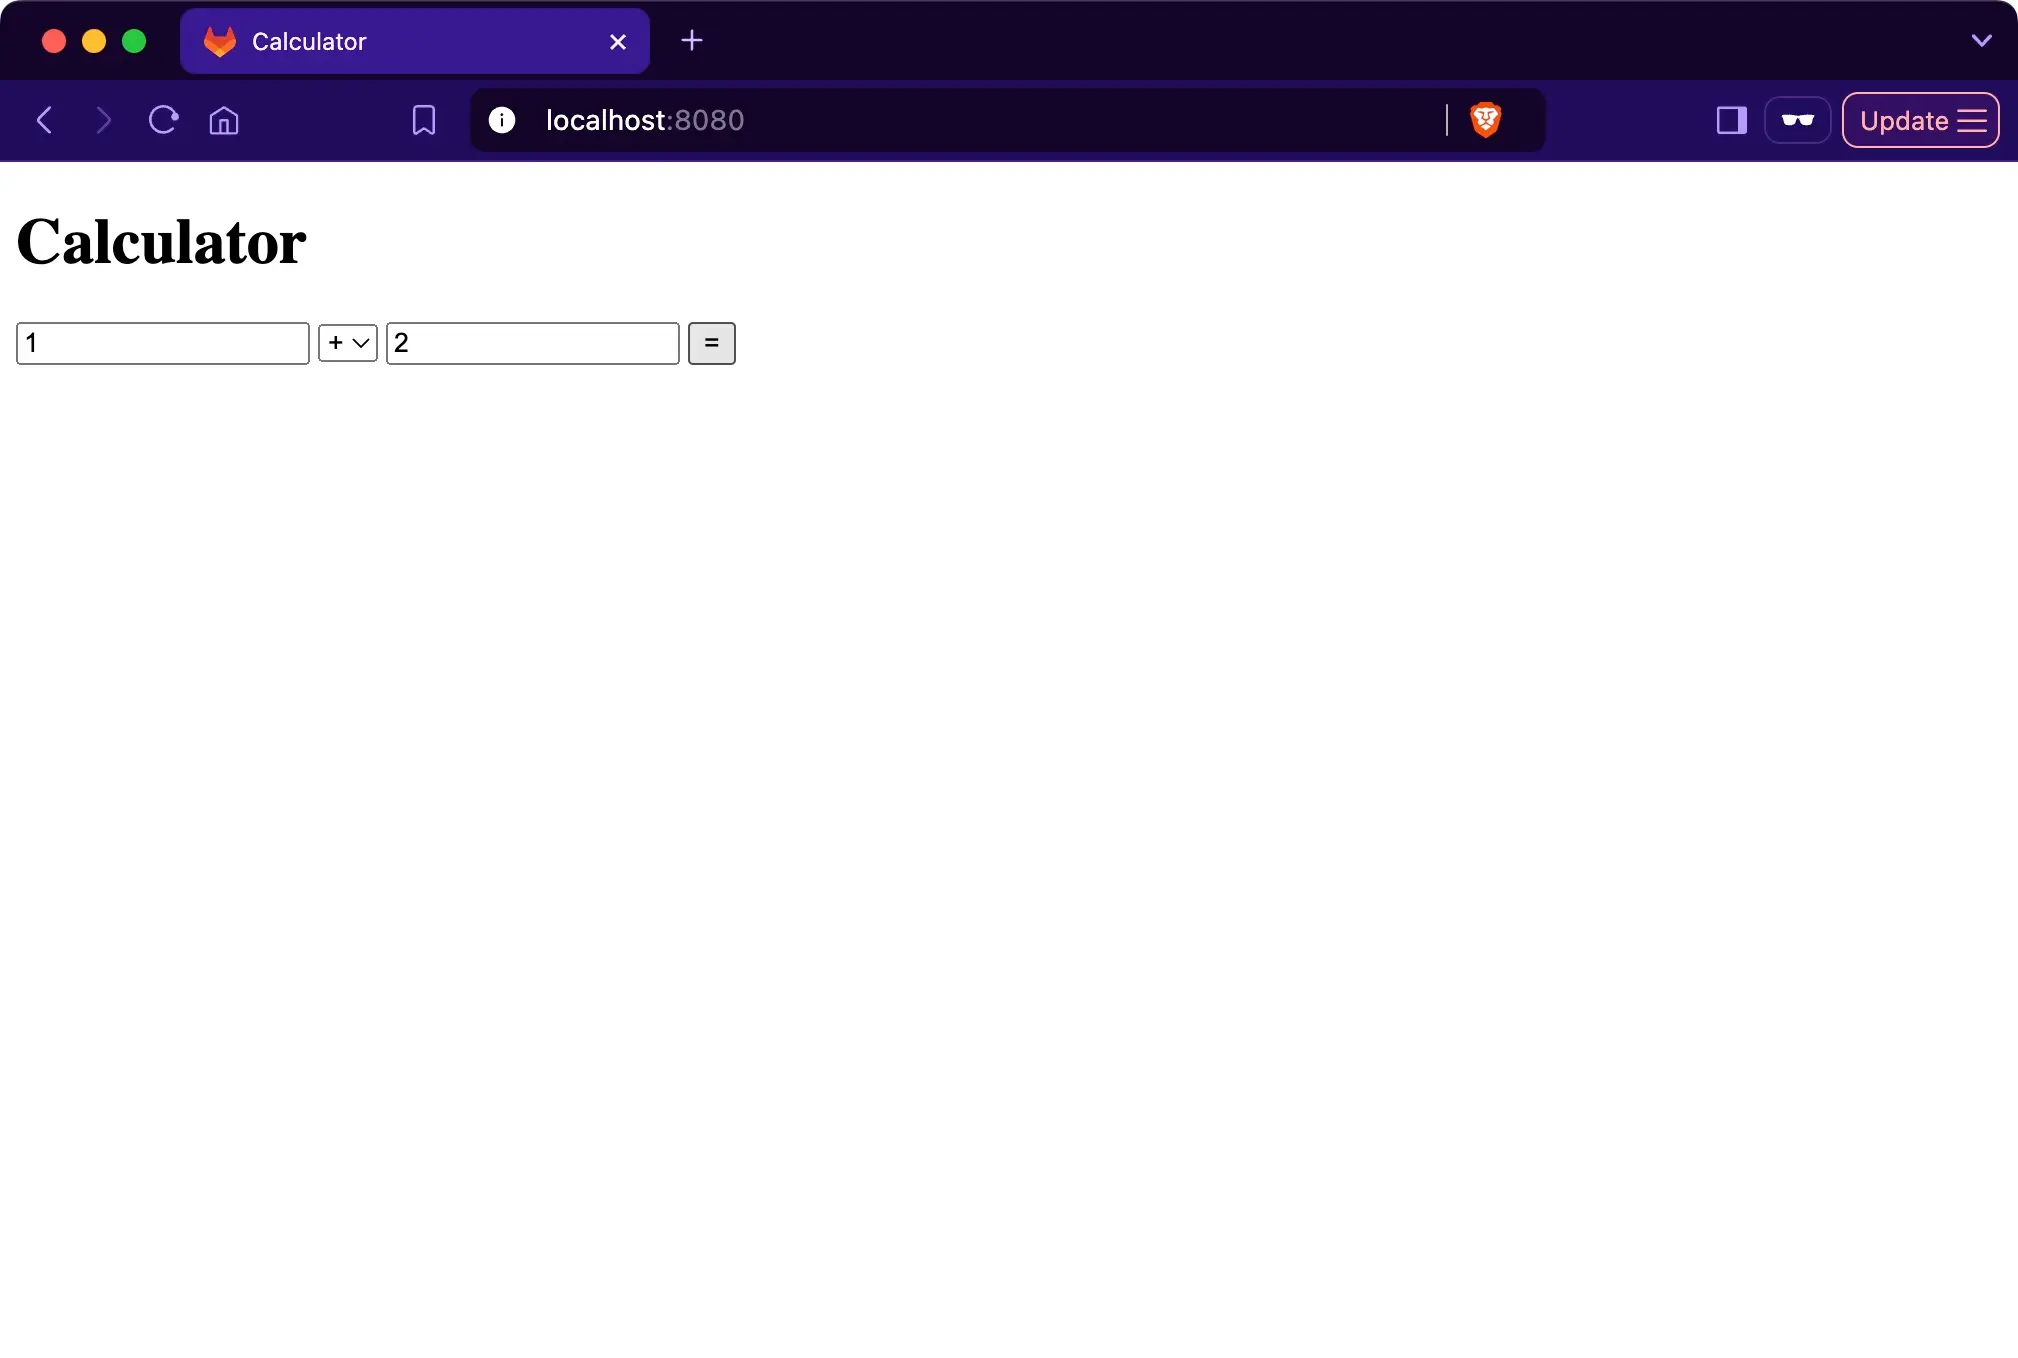
We need a form, so the user can put in two numbers and select one calculation method. Finally, as said, we need
our placeholder, that we can replace.
| |
As you can see, our placeholder is {{result}}. This text will not be shown to the user, since we’ll replace it.
Calculation logic #
We’ve done this part in our Node.js CLI calculator already: Calculation based on user inputs. Now, let’s “extract” the
logic into it’s own function, so we can use it when generating our response.
| |
Hint: This is just for demo purpose. I’ve skipped handling edge cases.
Handling requests #
On each request, we need to know if the inputs are provided or not. Based on this decision, we either run the
calculation logic and replace the placeholder with the result or we replace it with nothing (empty string).
Now it’s time to modify createServer so that the calculator can be used.
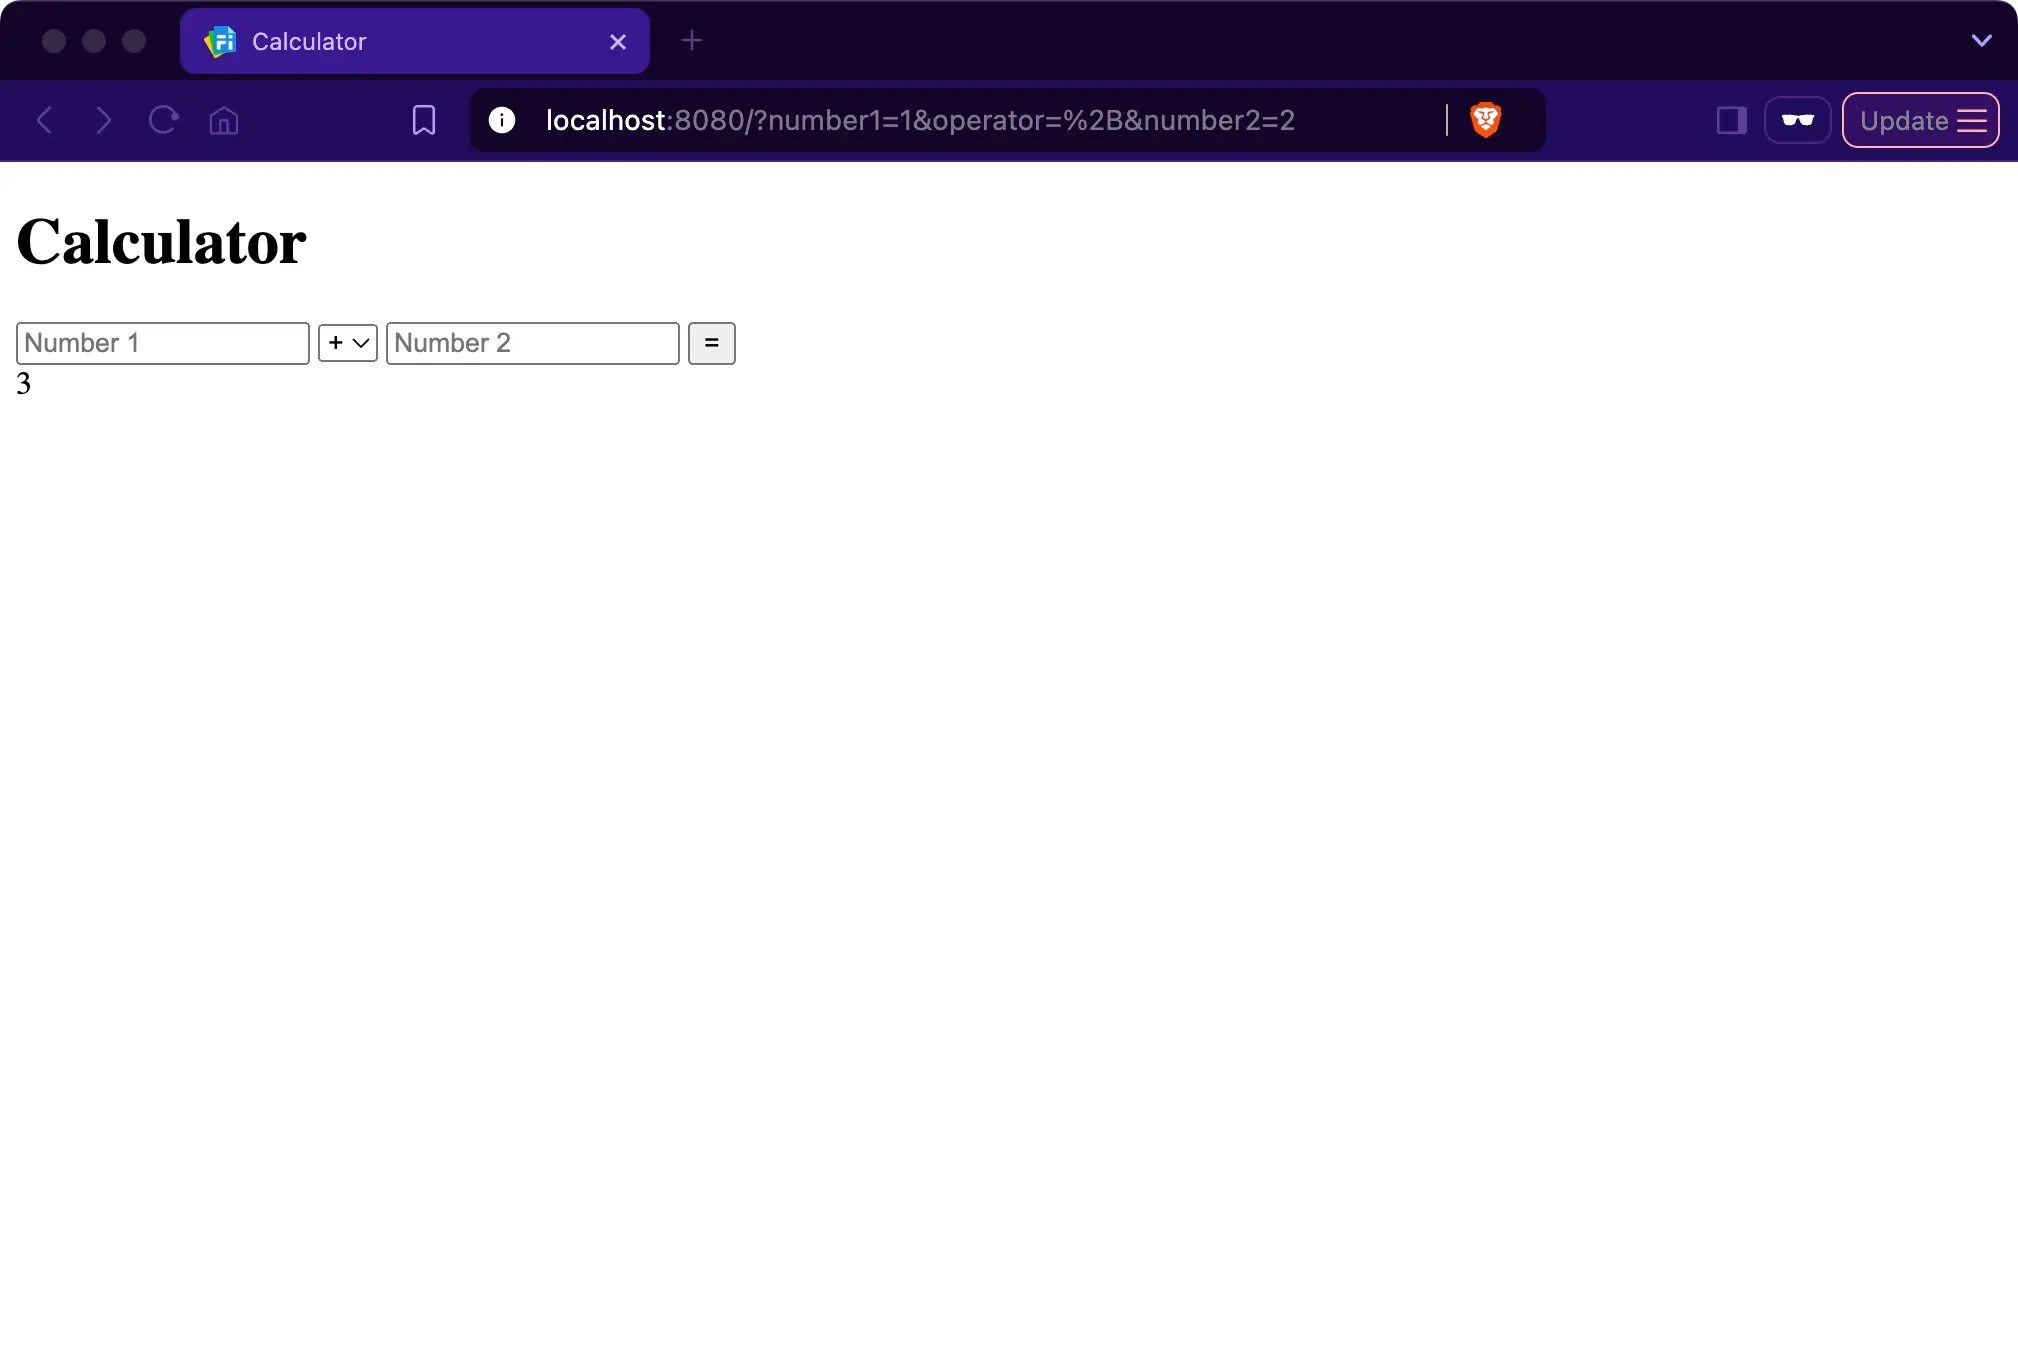
Our HTML form will send inputs as query parameters
so we need to check if they do exist. If so, we run the logic and use the result. Node.js comes with a built-in
URL parser. We can load it using require('url').
To replace our placeholder we can use the replace function that JavaScript provides.
Since JavaScript is untyped, we need to ensure that our numbers are interpret as such. We can do this
by using parseInt. On the other hand, we should ensure that our calculation result is understood as a string. We can
do this by using toString.
| |
Full implementation #
Here’s the full code of this example:
| |
Save this (e.g. as server.js) and run it in a system prompt / shell (e.g. node server.js) and you’ll see the output:
| |
As before, the program will not stop, it’ll stay running until you stop it (CTRL + C / ^ + C). As long as
this program is running, you can use your browser to access the shown URL.


Creating a CLI log application with Node.js #
Node.js has way more interesting features than I can show in this article, but there’s definitely one last topic to talk about: Accessing files. Since Node.js is a “normal” application on your computer, you can do this as well. Creating, reading, writing and deleting files in Node.js is fundamental so you can persist data.
In this chapter we’ll write a basic logging application, that we can use on command line, something like
node main.js Hello world or node main.js Some important information. Every log message should be written on a new
line into a file called messages.log in the current directory and it should start with current date and time.
Node.js provides functions to access the file system. We can load it using require('fs'). Node.js also provides
functions to work with path’s. We can load it using require('path').
I’ll explain the idea behind the code first. You can find the full code below. Feel free to review it at any time.
Our log message should contain all arguments passed to the process but ignore the first two (which would be
node and script path): We use process.argv to get all arguments, ignore first two by using slice(2) and
combine them into one string, seperated by spaces by using join(' '): process.argv.slice(2).join(' ').
To build up the log message file path, we first need to know the current directory. We can load it from process.cwd()
(cwd stands for “current working directory”). We now can use path.join to generate the full log message file path:
path.join(process.cwd(), 'messages.log').
When it comes to date and time in a technical but still readable way, I like
ISO8601. We can get the current date and time formatted this way in by
using new Date().toISOString(), which is quiet handy.
Now, to append a file, we can use fs.appendFile. It needs 3 arguments:
- The
pathof thefile, that should be appended to - The
stringthat should be appended - A
functionthat is called after it was done. This function has oneargumentwhich is the error (if any) that was seen during the update (undefinedif no error was seen).
Keep in mind, errors are possible. On the file system you probably see permission issues or the disk simply is full. We’ll keep it simple: If there was no error we don’t do anything. If there was an error, we’ll write the error to the console.
| |
Save this (e.g. as logger.js) and run it in a system prompt / shell two or three times (e.g. node logger.js test) and you shouldn’t
see any output (we just print errors). But now you should see a new file messages.log, and if you show it (e.g.
cat messages.log), you should see
| |
Continue learning #
Once your code has reached a certain size, it can be useful to get used to source code versioning:
Keep pushing forward: Next articles to improve your skills
With this article in mind, you can keep on reading about these topics:
You may also want to use the content map to find your next article.