Effortless Website Hosting on a Budget with Namecheap
Table of Contents
Recommended basics: Articles you should know
To get the full picture of this article, you should know about this topics:
You may also want to use the content map to find interesting articles that play into this one.
If you want your website publicly available, that’s not too complicated nowadays. Also it’s very cheap, if you know what you need and what to look for.
What we will dive deeper into is shared hosting: You get a subscription on some server which is shared with other customers, for sure every subscription is isolated so that you dont need to think about other clients having access on any of your data. This way, costs are manageable.
For this demonstration I’ll use Namecheap, but theres many hosters out there. Process usually is similar, so you probably can follow along with this article even without using Namecheap.
Criteria for Selecting a Shared Hosting Package #
There’s a ton of service providers for shared hosting out there. If you need to pick one, dont do what everybody (incl. me) is doing. Think about your needs and reduce every hoster on your list by this criteria. From what’s left, you can pick one.
Here’s my list of criteria for the current scope:
Usually I’d also look for:
Choosing the Right Hosting Package on Namecheap #
Hosters usually have multiple packages, from small to large or even reseller. For the use-case today I can go with a very small package since costs are low here. If you are in a position where you want to host a more complex site, you probably pick a bigger plan.
I will go with Namecheaps “Stellar” subscription which matches with my criteria list and is absolutely enough for a small test account. If I would host multiple project within the same subscription, I would pick a bigger package to have more domains and storage.
Ordering Process: From Domain Selection to Confirmation #
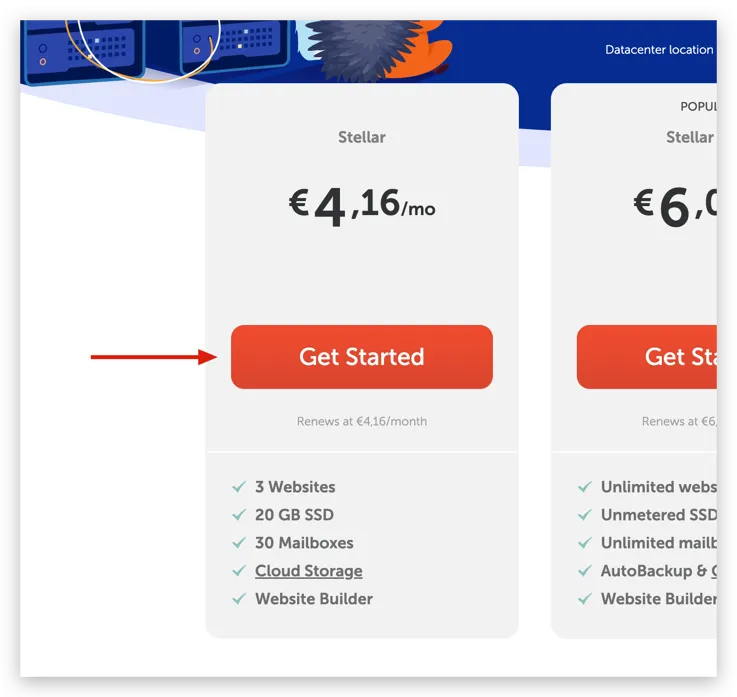
Let’s kick of the order process for the shared hosting subscription by clicking “Get Started”:
I have an account already and I am logged in, so I’m directly in the configuration section.
Find the right domain name #
The next step is to select a domain name. This domain name is later used to visit your website. I recommend to pause here and think of a very specific domain name.
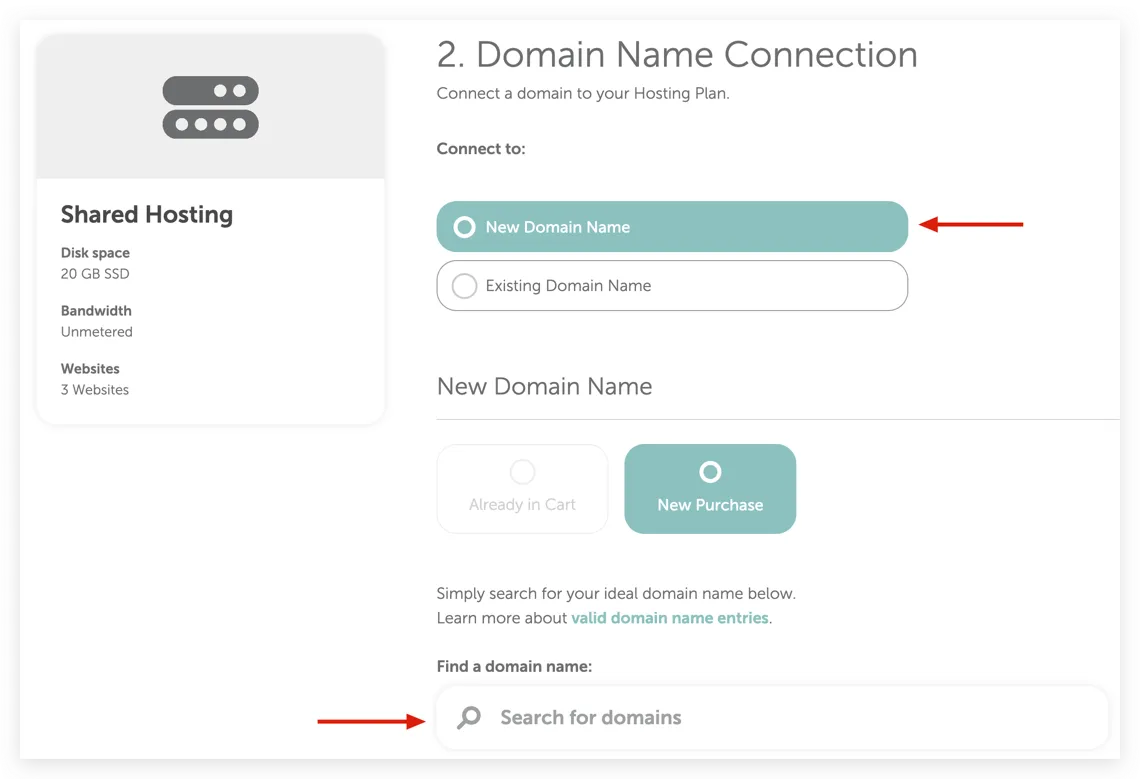
While you can search for any domain name you like, there’s a chance that it is already taken. The system is, that you can take whatever is free. For sure there’s a market where you can buy domain names, but that is not the topic of today.
In my case it looks like this:
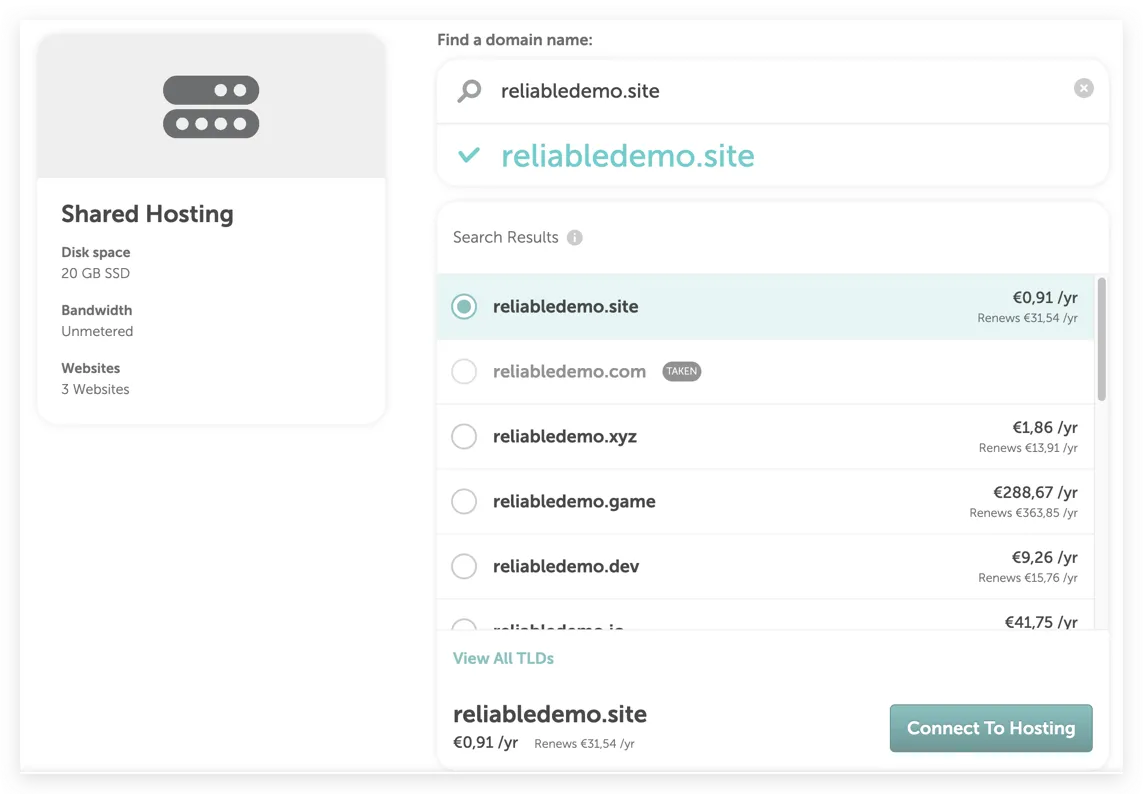
So I pick this domain and confirm with “Connect to Hosting”.
Plan for domain costs #
Domains do cost money. Some Hosters have this included in their package prices, some don’t. In my case, I’ll pay 1.08 € for the first year and then 31.54 € per every next year. So after selecting my domain, the package price is updated:
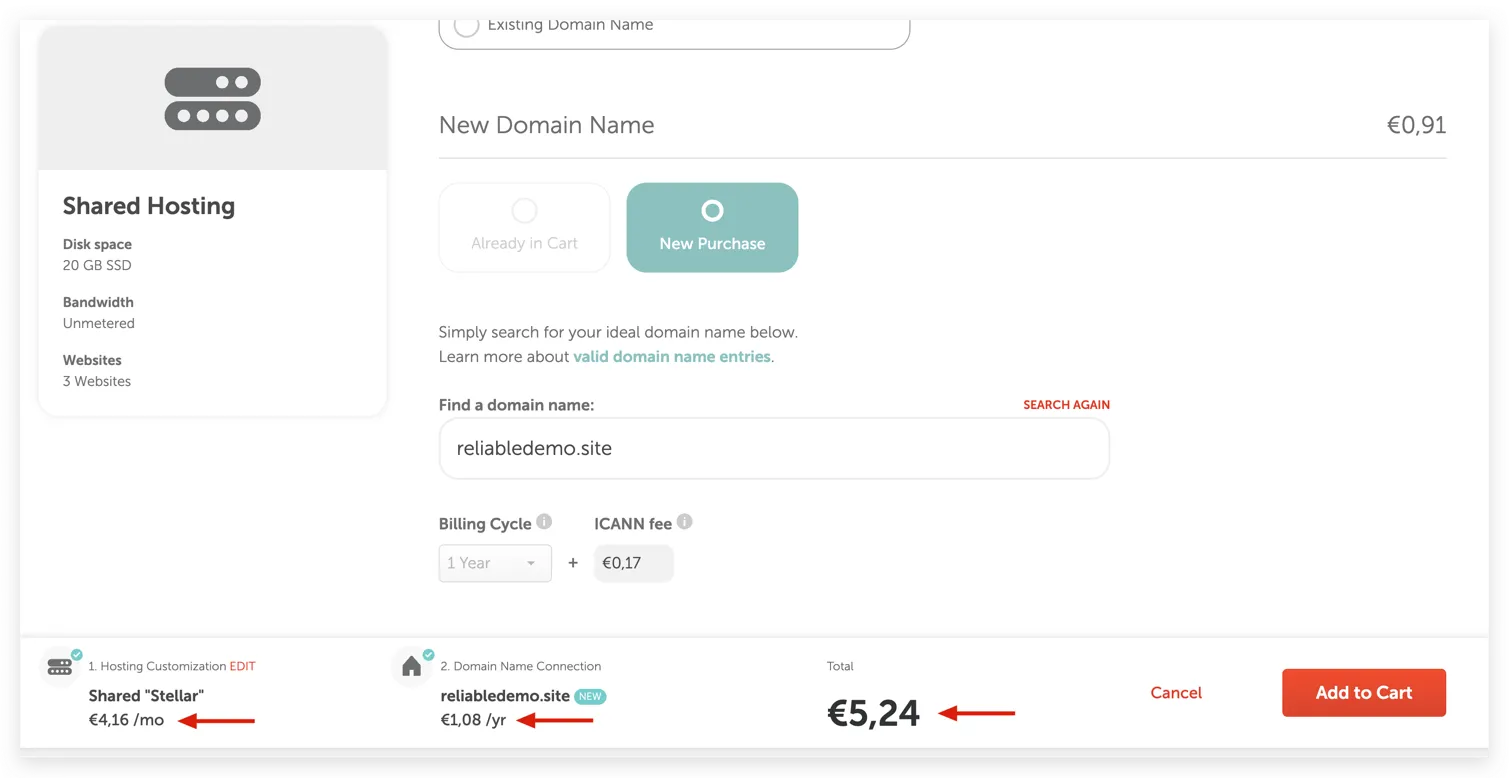
I do confirm the configuration by clicking on “Add to Cart”.
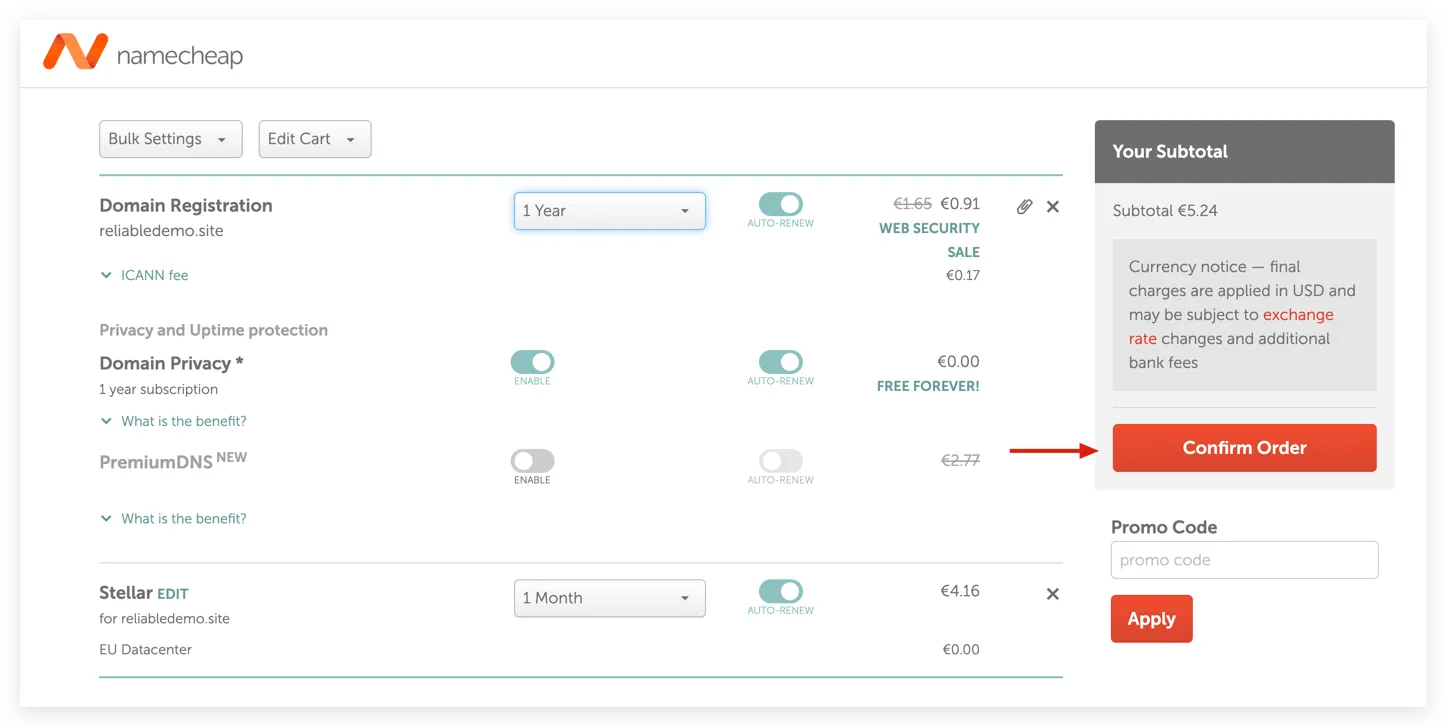
Confirm the order #
Last step is to confirm the order. One last time we see all previous information in a card-kind view to be confirmed:
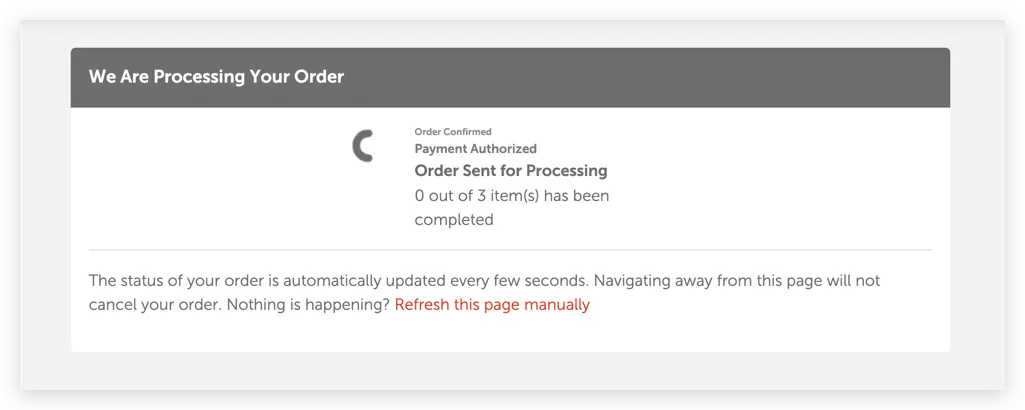
You will walk through a dynamic set of forms, based on whether you have an account already or not and if you have a subscription already or not. After finishing the payment, you need to wait a short time for the setup to be done:
Configuring SSL for Your Namecheap Hosting #
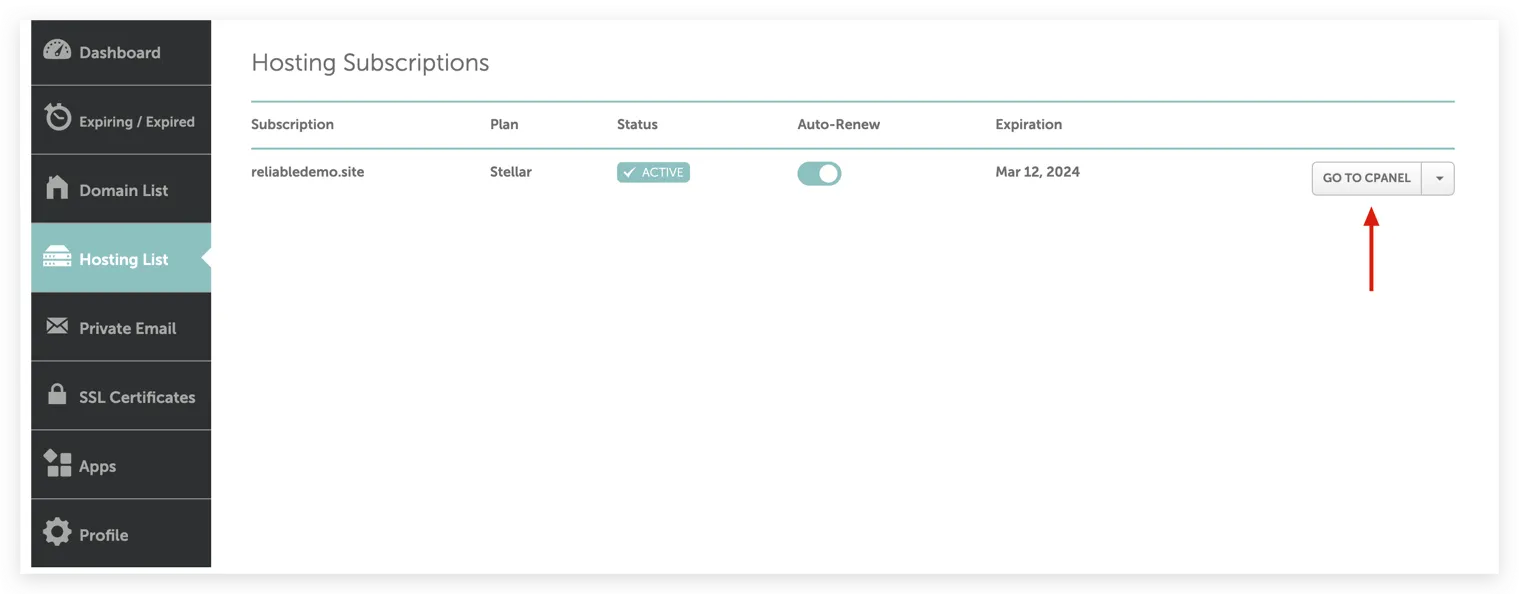
From your account dashboard, you can now log in to your hosting package:
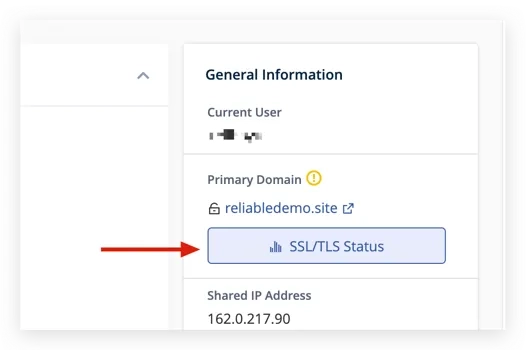
Today we’ll not do too much configuration, I just want to ensure that SSL is active for my domain.
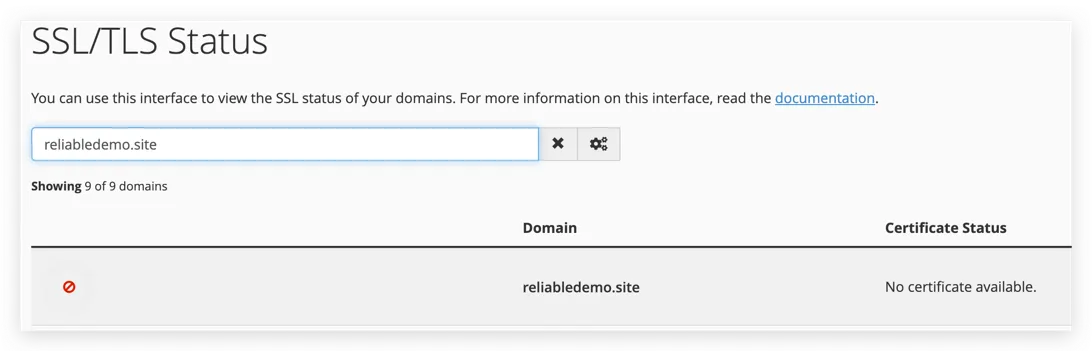
On the right hand side of your screen, you will find a “SSL/TLS status” button:
Now you can see, that SSL is not active yet:
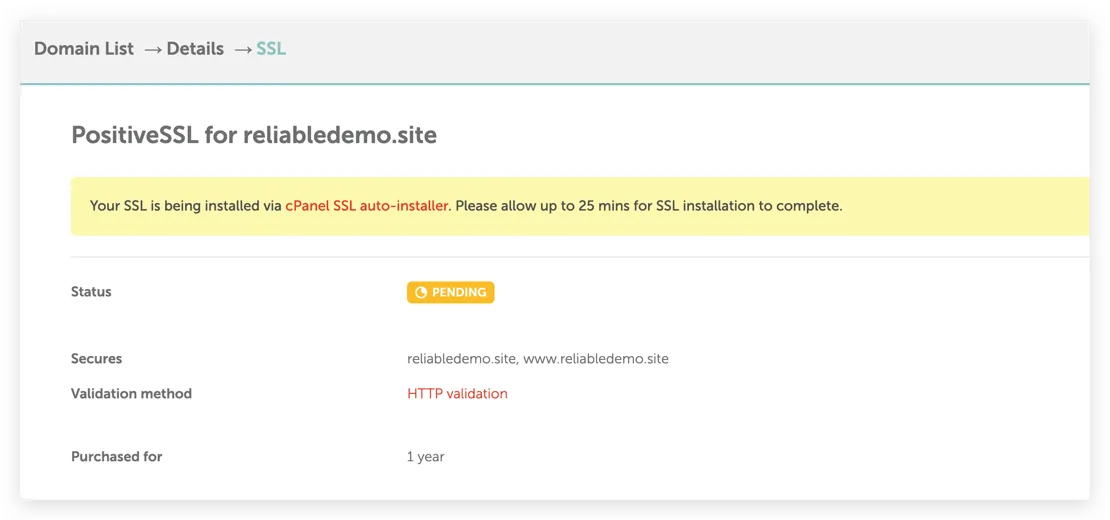
Namecheap will need up to 25 minutes to provide and activate the SSL
certificate, you can see that in your profile dashboard under SSL Certificates > Domain > Details:
Spoiler: In my case, it took a little longer. Ensure meanwhile, that your account is verified, there should be a respective button in the account dashboard.
After some time, your SSL Certificate is automatically installed and it should look like this:
Uploading Your First Website: A Step-by-Step Guide #
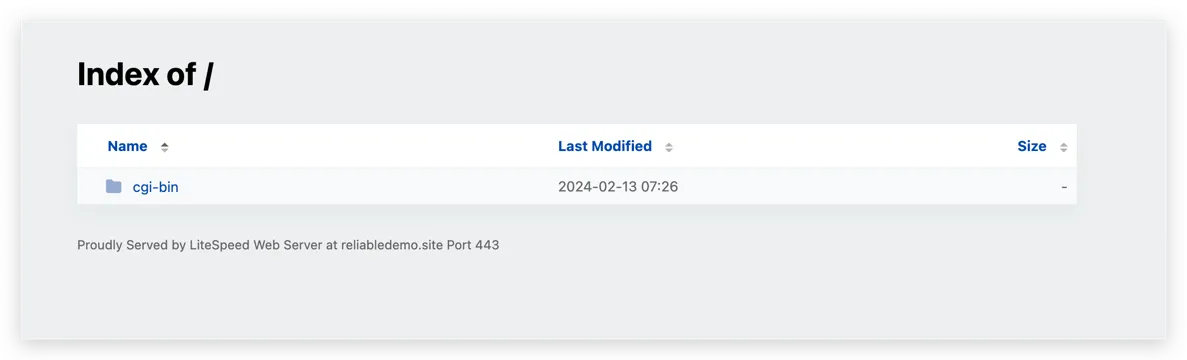
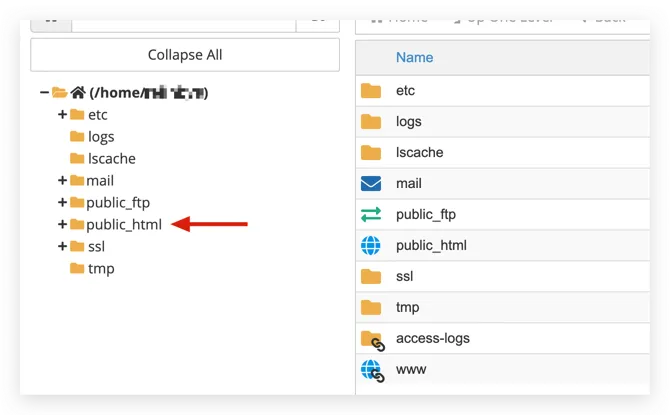
Now it is time to personalize your website. The default view, once you open the website, is a file / folder list:
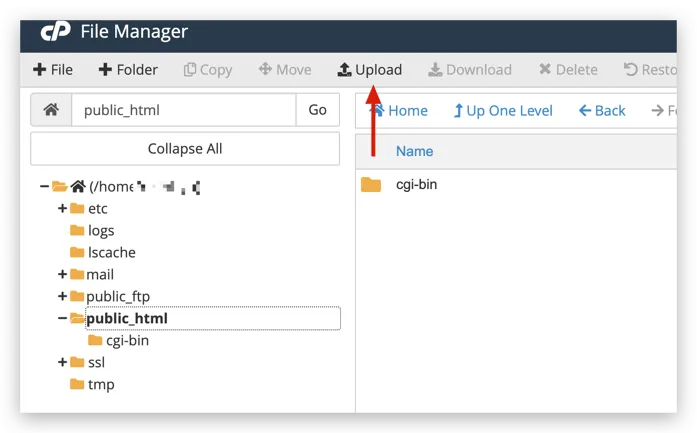
What we now need to do is, uploading some content. I will go with my previously created about me page.
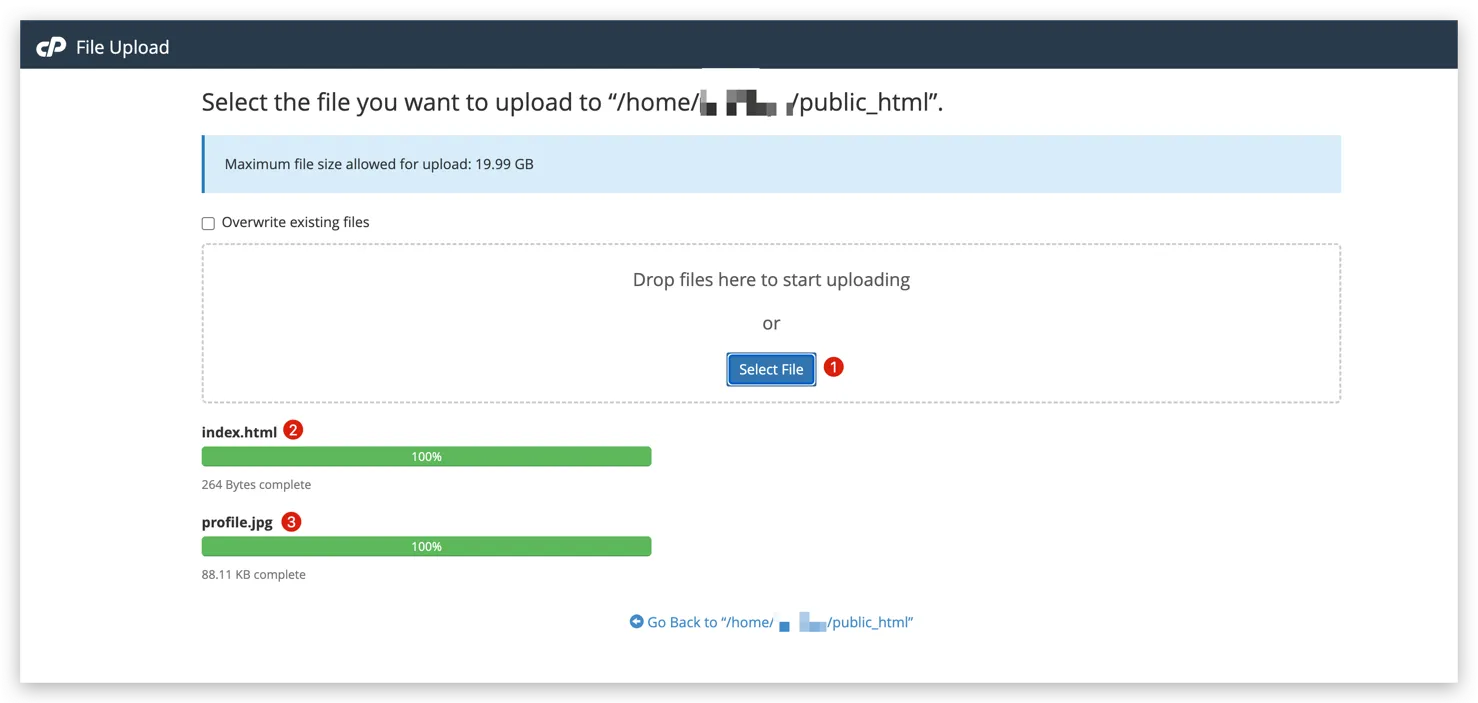
The key part here is, that whenever your website is opened, the server will look for an index.html or an index.php
file. For now I’ll go with index.html. So I make sure that after I upload, I rename the file properly.
Beside that, everything stays the same, so your file structure online should be
| |
So let’s upload your first website:

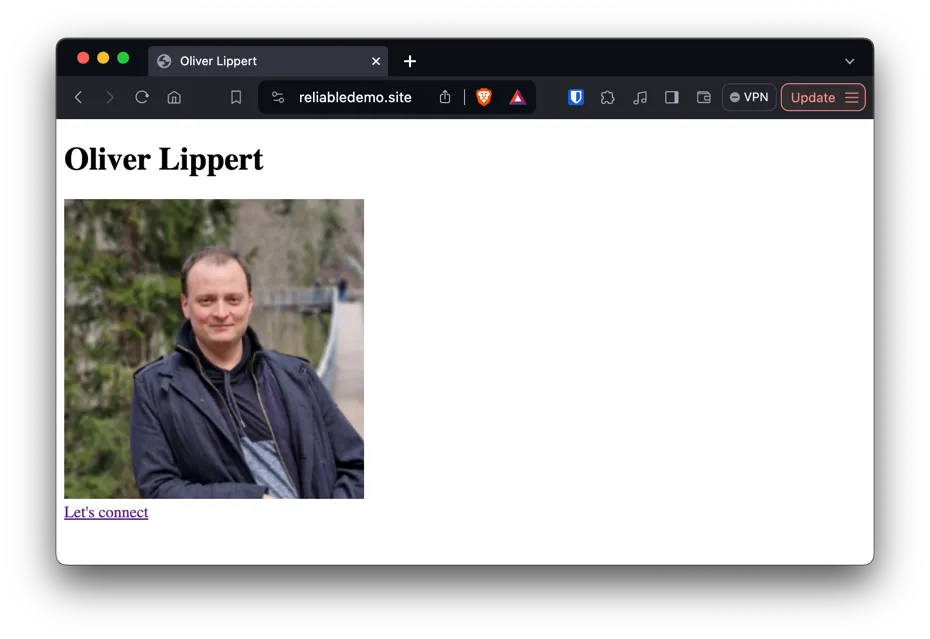
And now if you reload your website in the browser, you should see your website working online.
Continue your hosting jurney #
Today you learned how to make a static website publicly available. Using the same package you also can create dynamic websites, using PHP.
And if even that is not enough for you, beside shared hosting you can check out if hosting your own server is an option for you.
Keep pushing forward: Next articles to improve your skills
With this article in mind, you can keep on reading about these topics:
You may also want to use the content map to find your next article.